Labels

hpunix (63) marathi kavita (52) linux (21) solaris11 (11) AWS (5) numerology (5)
Showing posts with label ILOM. Show all posts

Monday, July 7, 2025

Solaris 11.4 Installation steps from beginning

Solaris 11.4 Installation steps from beginning 


This document will help you in installing Solaris 11.4 on SPARC Hardware

1.       Here we are installing Solaris 11.4 from the ISO file. So, search in google or download it from MOS (My Oracle Support) and attach it to ILOM.

https://www.oracle.com/solaris/solaris11/downloads/solaris11-install-downloads.html

Link: https://support.oracle.com/portal/


2.       Below is the method to do the same.

Login to ILOM GUI session. Go to Remote Controlà Redirectionà Launch Remote console.

(You may need to download java package in case you get some java related error)


3.       You will see console screen like this.


4.       Go to KVMSàStorageà Add iso file à connect.


5.       Add and connect ISO file here from the path where you have stored. So it will be visible on server as boot device.


Now Take CLI session of you ILOM.

6.       And stop your system and wait for some time;


7.       you can see the power state off and then start the system. And to see what is happening in the background take /SP/console


8.       Below command will search boot devices. Here we want to boot from the ISO image and the “rcdrom” is showing alias for this. We will boot from rcdrom.


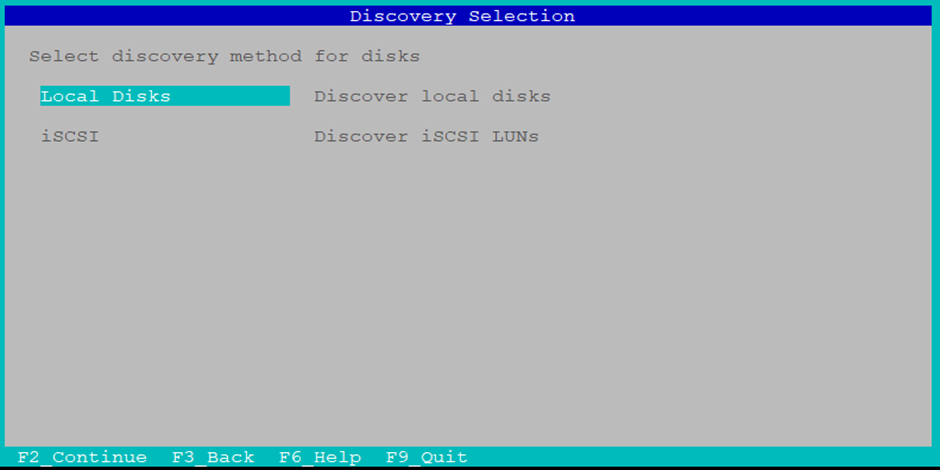
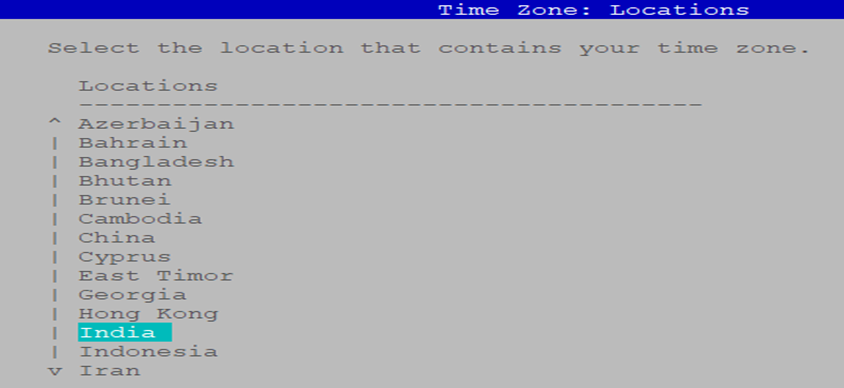
9.       After booting, it will ask to choose keyboard and language.
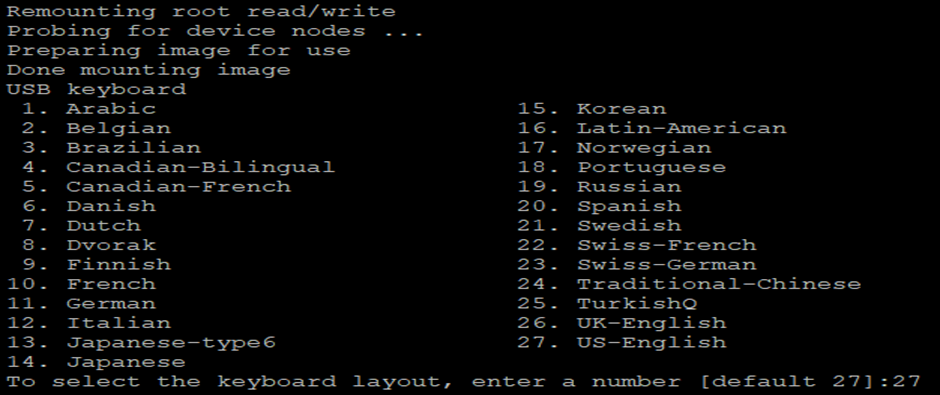


10.   Since we want to install oracle solaris freshly; we will select option 1


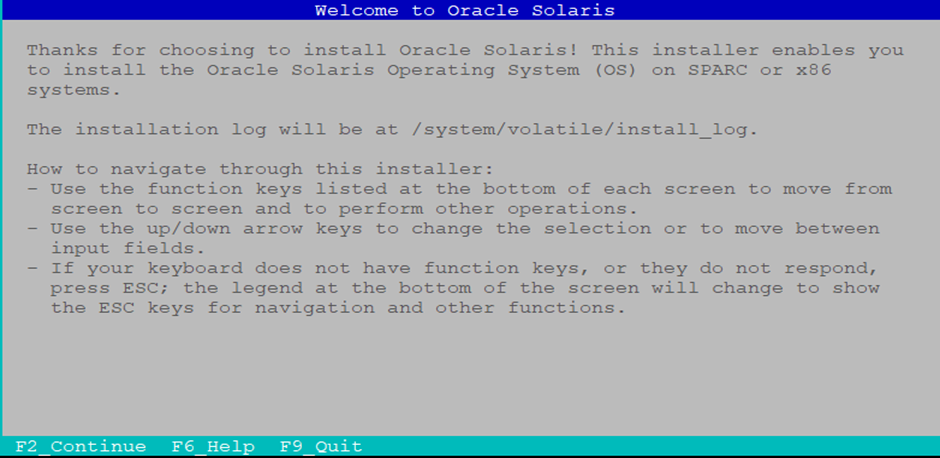
11.   Actual Solaris installation will start from here. Press F2 to continue and move to next field.

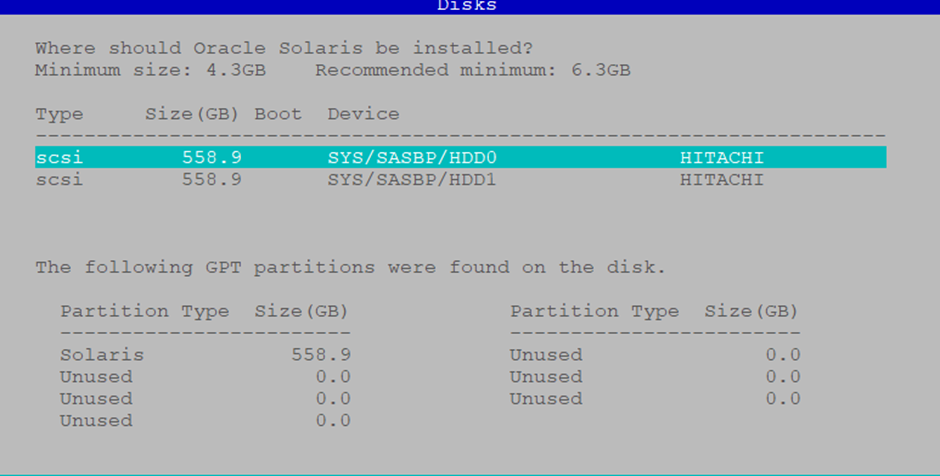
12.Select your disk where you want to install your Solaris OS.


13.   We can mention required Server hostname here.


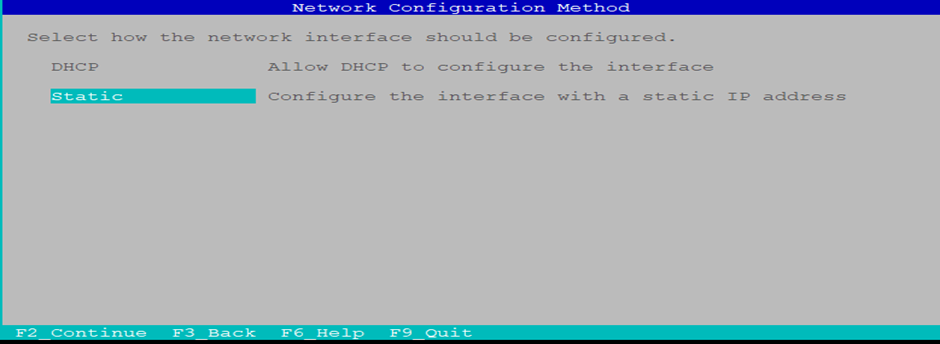
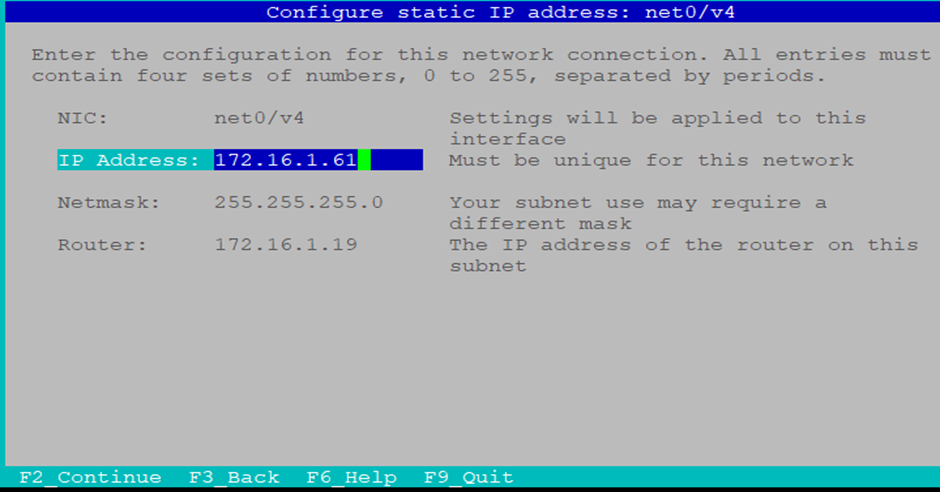
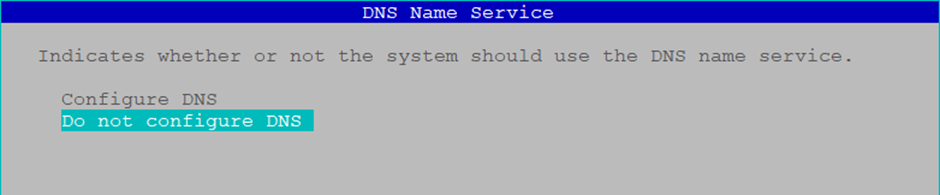
14.   Please mention your network configuration here.


15.   Please set correct date and time here.


16.   We can set root password here.


17.   This will give installation summary to you. If any rectification needed, then please rectify.


18.   This will start installation and will show you progress (It will take approx. 1hr).
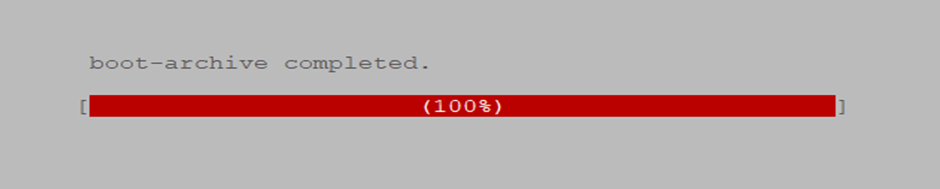

19.   Once installation completes properly, you will see below screen. Press F8 for system reboot.


20.   You will get login prompt that means installation is competed. Once the server is up; we can verify whether Solaris 11.4 OS is installed on the server or not using below commands.


Regards,
Kiran Jadhav

Tuesday, November 12, 2024

How to assign ILOM IP to the new Solaris server + Solaris 11

How to Assign ILOM IP to a New Solaris Server (Solaris 11)

Setting up a new Solaris server involves several steps, and one of the most critical is configuring the Integrated Lights Out Manager (ILOM) IP address. This allows administrators to manage the server remotely, even when the operating system is not running. In this blog, I’ll walk you through the process of assigning an ILOM IP to a newly racked Solaris 11 server.


🧰 Prerequisites

Before you begin, ensure the following:

  • The server is rack-mounted and connected to power and network.
  • You have the server make and model noted down.
  • console cable is available to connect your laptop to the server.
  • You’ve received the ILOM IP address, gateway, and netmask from your network team.

🖥️ Step-by-Step Guide

1. Connect to ILOM via Serial Console

  • Use a console cable to connect your laptop to the server’s NET MGMT port.
  • On your laptop, open Computer Management:
    • Navigate to: Computer Management > Device Manager > Ports (COM & LPT)
    • Note the COM port number assigned to the console cable.

2. Launch Serial Session Using PuTTY

  • Open PuTTY and select the Serial connection type.
  • Enter the COM port noted earlier.
  • Set the baud rate (typically 9600, but may vary based on server model).
  • Click Open to initiate the session.

📌 Tip: Baud rate may differ depending on hardware. Refer to the server documentation or search based on the make and model.

3. Log in to ILOM

  • Press Enter in the PuTTY window to bring up the ILOM login prompt.
  • Log in using the default or configured credentials.

🌐 4. Configure ILOM Network Settings

Once logged in, follow these commands to assign a static IP:

cd /SP/network 

set pendingipdiscovery=static 
set pendingipaddress=(IP address)
set pendingipnetmask=(Netmask)
set pendingipgateway=(Gateway)
set commitpending=true 
set state=enable

 Verify Configuration

Run the following to confirm the IP settings:

#show /SP/network
You should now see the assigned IP address and other network details.

🌍 5. Access ILOM via Web Interface

With the IP configured, you can now access the server’s ILOM interface through a browser:

https://<ILOM_IP>

Log in and begin managing the server remotely.


📝 Conclusion

Assigning an ILOM IP is a foundational step in setting up a new Solaris server. It ensures that you have out-of-band management access, which is crucial for troubleshooting and maintenance. By following the steps above, you can quickly and securely configure ILOM and begin your server setup with confidence.


Author:
Kiran Jadhav
Principal Consultant | Solaris Admin
Mumbai, Maharashtra

Friday, March 26, 2021

How to increase session timeout value in ILOM + solaris

 How to increase session timeout value in ILOM:

The session gets disconnected if it is unattended for more than 15-20 minutes, depending on setting done in your system. Sometime, at the time of patching we may face problem due to session 

timeout. So it is better to increase the timeout value from server or from ILOM.


Here we are increasing session timeout value for ILOM.

1. Login to ILOM from CLI and get the timeout value.


-> show /SP/cli

 /SP/cli

    Targets:

    Properties:

        legacy_targets = disabled

        prompt = (none)

        timeout = 20


In our case timeout = 20, that means after 20minutes the session will get disconnected if it unattended.

2. The timeout value indicates the number of minutes for session timeout (1–1440).

3. Here we are setting timeout value to 60 i.e. 1hour or 60min.

-> set /SP/cli timeout=60

Set 'timeout' to '60'


-> show /SP/cli

 /SP/cli

    Targets:

    Properties:

        legacy_targets = disabled

        prompt = (none)

        timeout = 60

->

Note : Setting a timeout value of 0 disables the timeout feature.


Thank U !

Kiran Jaddhav